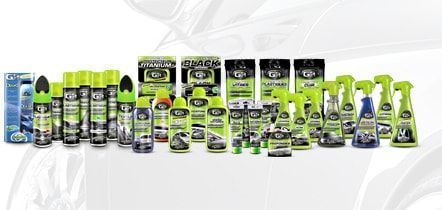
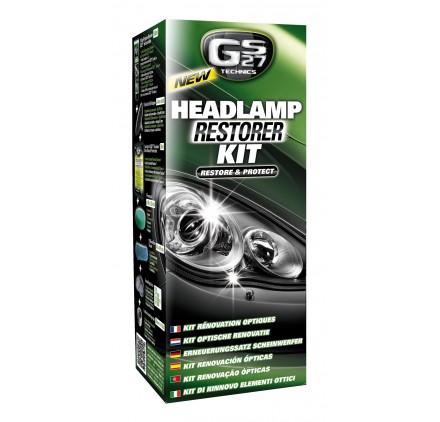
Remove imperfections and rediscover your car’s original beauty.
Scratch removal
Scratch remover:
Put a dab of the product on a microfiber cloth.
Rub with more or less intensity depending on the size of the scratch.
Start again until you obtain the desired result.
Headlamp Restorer & Scratch Remover Kit:
1/ Insert the adapter stem into the drill chuck.
2/ Fix the foam pad to the adapter.
3/ Apply a small heap of Dual-purpose Restorer GS27® Technics on the scratch.
4/ With the drill stopped, spread the product on the surface with the foam pad.
5/ Start the drill. Proceed in large circular figure of 8 movements.
Do not apply pressure to the bodywork.
Check regularly that the bodywork is not heating up. If the bodywork heats up, stop immediately. This operation should not exceed 30 seconds.
If your drill has several speeds, start with the slowest and increase the speed progressively but do not exceed 1600 rpm.
6/ Wipe off excess with the microfiber.
7/ Repeat the operation if necessary.
8/ For the best possible result, we recommend applying the High Protection Polish Titanium+® GS27 Classics® afterwards to protect the area treated.
Our advice:
Do this on a clean and dry bodywork.
Identify the type of scratch before application. In most cases this product will react effectively. However, if the scratch is deep (peeling paint, visible metal sheet or priming coat), consider a bodywork repair.
To improve the protection of your bodywork after repair, we advise you to polish the vehicle with a GS27® polish.
Bodywork repair
Shake the bottle well before use. Apply the product with a microfiber cloth in small circular movements (doors, wing mirrors, half bonnet, etc.). Dry immediately with a clean microfiber to obtain the shine. Start again depending on the state of oxidisation until you obtain the desired result.
Our advice:
Do this in the shade and on a clean and dry bodywork. Do not use this product on porous or unpainted plastic. If there are white marks on the plastic, clean the surface with the GS27 Classics® Plastic Cleaner. To improve the protection and shine of your bodywork after repair, we advise you to polish the vehicle with a GS27® polish.
Headlamp Renovation
Headlamp Restorer & Scratch Remover Kit:
1/ Carefully protect the bodywork round the headlamp with masking tape.
2/ Insert the adapter stem into the drill chuck.
3/ Fix a sanding disc on the adapter.
4/ Wet the headlamp with a sponge and then dampen the surface of the abrasive.
There should always be water on the headlamp. Add water during sanding if necessary.
5/ Start the drill and sand the headlamp. Proceed in large circular figure of 8 movements.
Do not apply pressure to the headlamp.
Check regularly that the headlamp is not heating up. If the headlamp heats up, stop immediately. Sanding should not exceed 1 minute per headlamp.
If your drill has several speeds, start with the slowest and increase the speed progressively but do not exceed 1600 rpm.
Use one sanding disc per headlamp.
6/ Wipe the headlamp with the microfiber.
7/ Remove the sanding disc from the adapter.
8/ Fix the foam pad to the adapter.
9/ Apply a few small heaps of Dual-purpose Restorer GS27® Technics to the headlamp.
10/ With the drill stopped, spread the product over the whole surface of the headlamp with the sponge. The headlamp surface should be completely covered with a fine film of product. Add product if necessary.
11/ Start the drill. Proceed in large circular figure of 8 movements.
Do not apply pressure to the headlamp.
Check regularly that the headlamp is not heating up. If the headlamp heats up, stop immediately. This operation should not exceed 1 minute per headlamp.
If your drill has several speeds, start with the slowest and increase the speed progressively but do not exceed 1600 rpm.
12/ Wipe the headlamp with the microfiber.
13/ If sanding marks remain, repeat the polishing stage (start again from step 9).
14/ If the headlamp is not completely restored, repeat the operation until you obtain the desired result (repeat from step 3).


